Wednesday, 7 March 2012

From towelling to tiling

With the final day of annual leave from work looming, it was time for a spot of sewing.  Today the agenda was...bathroom towels!  I know this might not seem like the most exciting of projects, but stay with me.  With the cost of bathroom towels ranging from £10 upwards, I thought I would attempt to beat the high street and make my own.  Or at least add that personal touch to our bathroom!

Materials you will need:
  • Towelling material (I bought a piece 56x64 inches costing £10, this was enough to make 2 towels)
  • Matching thread
Step 1 - Cut your material

A stroke of shear luck meant that I could divide my material in half to make 2 large bath towels, but a standard towel measures at 26x53 inches so I used that as a guide.

Lay your material on a large suface, and simply fold the towelling in half.


Next cut your fabric along the fold line.


Now you have two towel pieces ready for finishing.


Step 2 - Hem the edges of the fabric

Starting with a shorter edge, turn up 1 inch of fabric and iron to create your fold.


Next, tuck the raw edge underneath to meet the fold you have just created, and pin.


Step 3 - Mitre the corners of the fabric

Fold the next longer edge of the fabric as above.  Then unpin around the corner of the fabric.  As you unfold the fabric place a pin at the point where the creases cross.


Fold the corner in at a 90 degree angle towards the pin.


Cut away the corner of the fabric leaving a small allowence.


Re-fold the side hem and the bottom hem, fold the mitre in place and pin.


Step 4 - Sew all sides of the hem in position

Using a straight stitch, sew along all the edges of your fabric to secure the hem in place.  I also altered direction slightly to close the mitred corners.  The corner sections can be a little tricky with the amount of fabric going through the machine, but I didn't worry too much if this wasn't the neatest of finish.


And there you have it, your very own bath towel made in minutes. Happy drying!


After finishing this sewing project and feeling a little parched, I decided it was time for a good old cuppa.  So, I popped out for milk and then shortly after this I heard a knock at the door.  My lovely landlady wanted to use my flat as a photo shoot for a local artist, and of course I wouldn't say no to a fellow crafter!  A cup of coffee, several personal props and a couple of light dancing hours later, the photographs turned really well.


The moasiacs are utterly beautiful and hand made by Amanda McCrann.  You can find more of her work at: http://gallery.me.com/amandamccrann.  I would definately recommend taking a look as I can imagine the craft world will be seeing much more of her work to come!  Good luck with everything Amanda!


Monday, 5 March 2012

Patchwork essentials

What is a girl to do with another glorious spring day?  Go shopping for more craft materials of course!


Today has been such a lovely day and also time I invested in the right tools for my latest patchwork project.  After reading many blogs and watching many tutorials online I quickly realised that my previous patchwork projects were missing a rotary cutter and a cutting mat.  So why are they so important you ask?

For my very first patchwork I chose to work using a hexagon pattern which didn't need precise cutting for each piece of fabric as this involved cutting rough square pieces from material and then hand sewing this around paper templates.


However, for my second blanket I chose to use square pattern pieces and to machine stitch them.  At the time, I measured and cut each piece using scissors.  This was doable and not particularly problematic, but I found when I then came to put my pieces together that the precision wasn't quite right, and often my square pieces didn't match up (don't tell my mother-in-law to be!).  The joys of quilting meant that this wasn't greatly noticeable.  As with all things craft, it is personal choice which I love and it doesn't need to be an exact science, but my own preferance would be the rotary cutter as this aids measurement and cutting, and ensures a tidy finish when you eventually sew your quilt pieces together.

So, today's shopping haul includes, a cutting mat and a rotary cutter - success!  And also other materials for my next 'making' project coming soon...but can you guess what it might be?


Friday, 2 March 2012

How to make frilly knickers

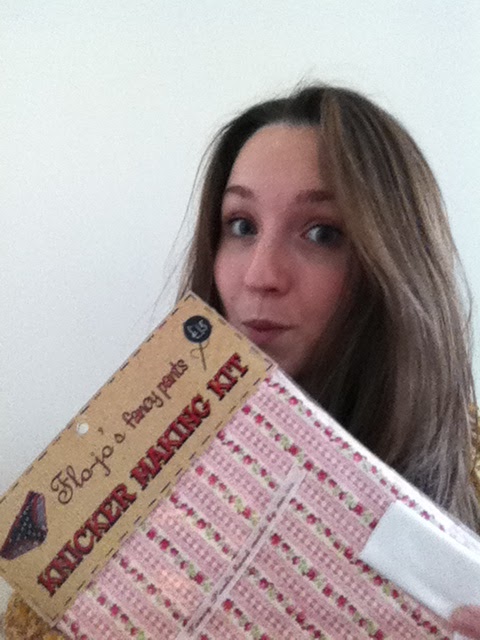
As it's my birthday today, what better way to celebrate than by getting creative.  I have been very lucky this year and my beautiful friend Lynsey bought me a knicker making pack.  Making pants has quite possibly been the most fun I've had sewing so far! 


I know I used a pack with templates included, but I think you could achieve pattern pieces just as easily by unpicking a pair of knickers your already own.  If you are doing this you will need to unpick the knicker front from the knicker back.  Then cut the gusset seperately.  Alternatively if you do want to use templates, my pack was purchased from www.flo-joboutique.co.uk. 

Materials you will need:
  • Material of your own choosing 70x70cm (I used 100% cotton)
  • White elastic 1m (frilly of course!)
  • White ribbon
  • White thread
  • Soft white gusset material 12x22cm
  • Material scissors
  • Paper scissors
 
Tip - I always keep my scissors for cutting material and patterns pieces seperate, this is to ensure my material scissors stay sharp.

Step 1 - Cut your pattern pieces

Cut your pattern pieces by following your size lines.  I also ironed my pieces to remove the folds in the paper.  Pin the pattern pieces to your cotton material and cut out following the layout below.


Do the same for the gusset material.  If you are using your own knickers as pattern pieces, I would cut a rectangle to the measurements above, and then trim this once it is sewn into the knicker front.

Now you have your pieces to start sewing!


Step 2 - Insert the gusset

With the right sides of the fabric together, place both underneath edges together. 


 Then place the gusset material on top and overlap the edge by 1cm.  


 Pin together and sew using a straight stitch with 0.5cm seam allowance.
 

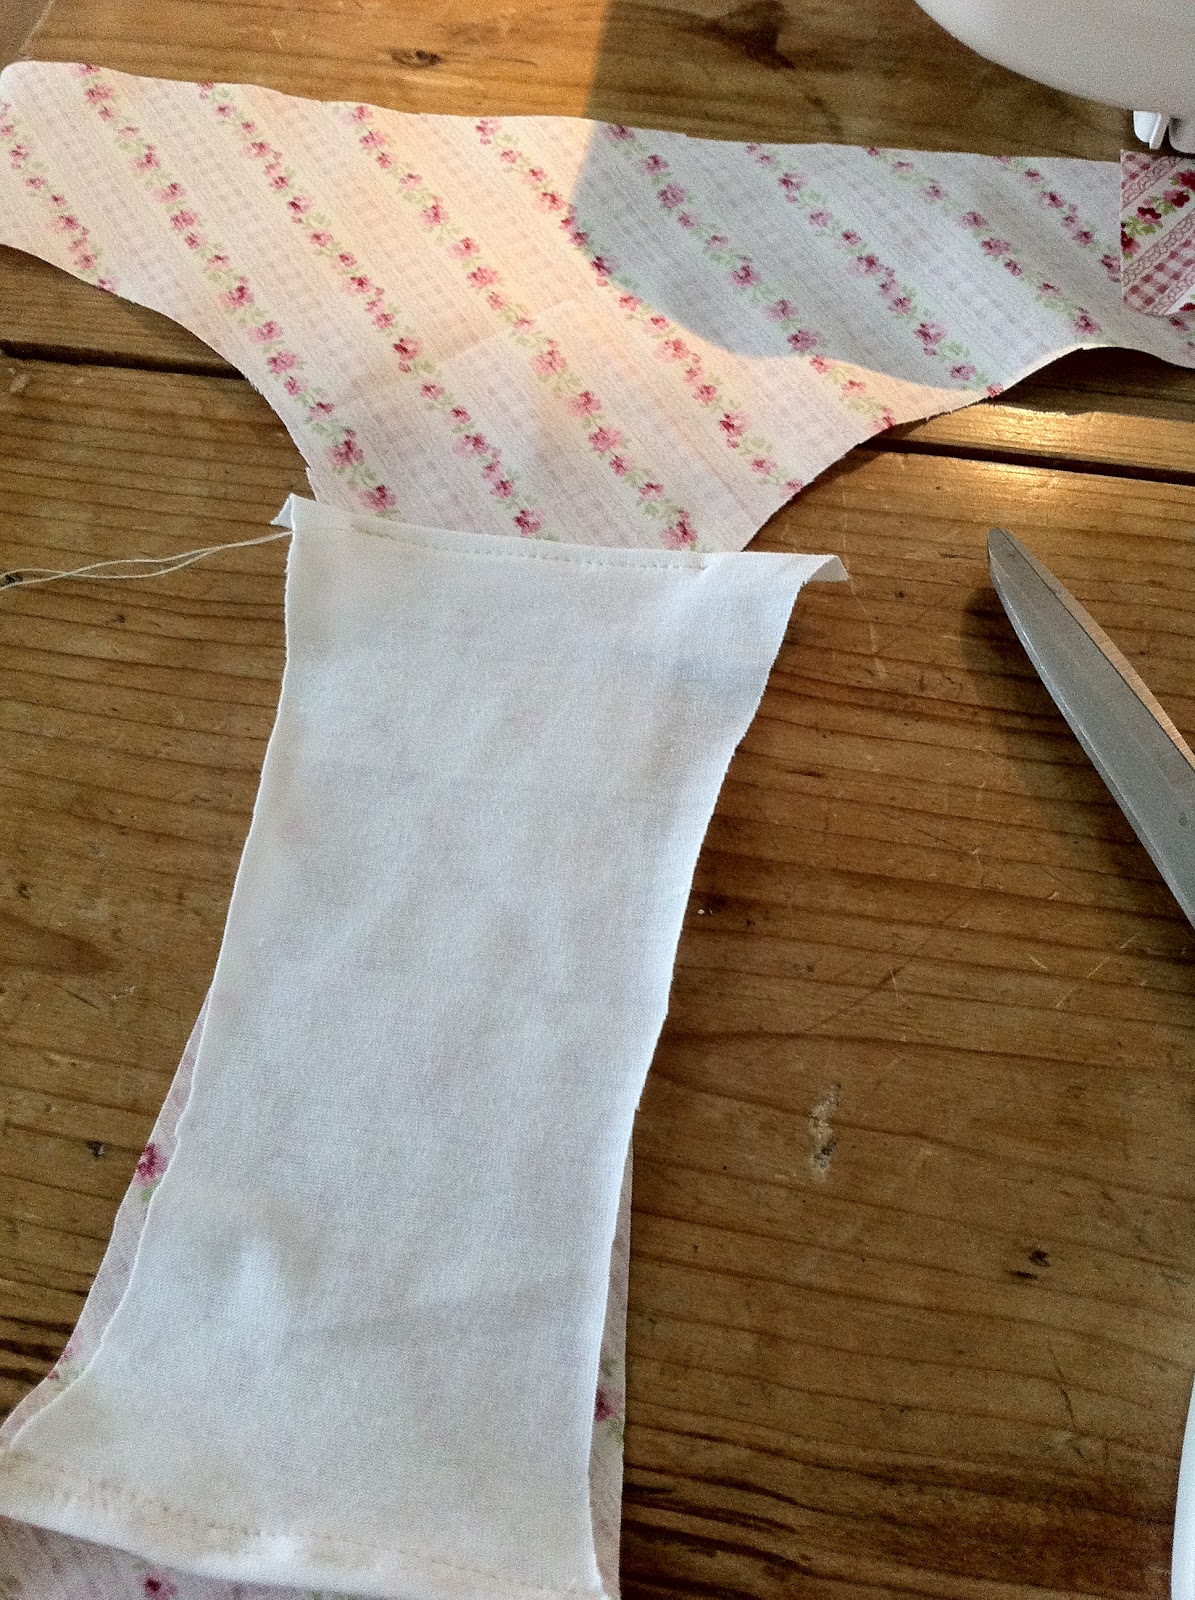
Fold the 1cm overlap over and sew to hide the cotton edges.  Fold the other side of the gusset material and sew to hide the cotton edges.  Next trim any excess gusset material to fit your knicker pattern.


Step 3 - Finish the edges of the material

Using an overlock or zigzag stitch, machine stitch all around the knicker shape.  This will give your garment a neat finish but also help to secure the gusset in place.


Step 4 - Insert the elastic

With right side of the fabric facing your, sew the elastic all around the edge of the knicker using zigzag stitch.  To create the gathered effect, pull the elastic slightly towards you as you do this.


Step 5 - Construct your knickers

With right sides of the fabric together, sew using a straight stitch with 0.5cm seam allowance along each edge of your knicker.  Then turn them out.

Using the ribbon create a bow and sew this onto the centre of your knicker.

And voila!  A pair of very cute ladies knickers!


Sunday, 19 February 2012

Life's a stitch!

After being bought my very first sewing machine at 21, it only took me 3 years later to actually start sewing as a hobby.  Around the time I started, my very close friend Lynsey already had the sewing bug and tempted me along to an afternoon of sewing and cake at our fellow sewer's house Cath.  From this day forward I've been hooked!  So really I owe a lot of my passion for creating handmade pieces to you both, and I thought I'd take a look back over the past year and share some of my projects.  I have chosen my favourite to detail 'how' it was made.  So many a trial and error later here is my story so far... 

Knitted scarf


Cushion covers


 Toy bags


Dribble bibs for baby Leighton


Lavender cushions


Skirts


(Modelled by the lovely Lynsey)

Dresses


Patchwork quilts


So here's my favourite project so far - patchwork!  Patchwork is a project you start knowing it's going to be ongoing for a few weeks, but for me it's so satisfying to reach the finished product.  I do always feel a bit empty when a patchwork project is finished though, I need to find my next one pronto!  My hand-stitched hexagon patchwork quilt took me a couple of months, mainly because I kept putting it down for other ideas, but it now sits merrily on the end of our bed and I enjoy it every time I see it. 

I'm still new to patchwork and experimenting with different techniques and finishing methods, but for this one I chose to hand sew it.  Patchwork can be much quicker by machine stitching, but it's all preference really.  Hand sewing was quite therapeutic, but after this first pattern I have made quilts by machine, I find it's much quicker and can be a little more forgiving if your patches aren't quite as presicely shaped.

Step 1 - I ordered hexagon templates over the internet from www.patchworktemplates.com.  I did try drawing and cutting my templates by hand first of all, but this didn't work so well.  When I tried fit the pieces together I had different sizes, so as you can imagine I swiftly rejected that idea.  Paper templates are great and ensured sizing was equal (hurray!). The service Jackie provided was also fantastic, and came with a template planner and step by step insturctions.  I ordered the largest hexagon shape possible, I think this was 10cm x 10cm.

Step 2 - Choose your fabric and cut square pieces of fabric a few millimeteres larger than your hexagon.  Then wrap your fabric around your template and hand sew it in place.


 Step 3 - Keep making pieces until you have the desired size of blanket you want.  Find a large space and arrange your pieces in the pattern you like.


Step 4 - With right sides together hand stitch each hexagon togther.  Avoid the temptation to remove papers until your work is complete, then cut your wadding and bind the edge of your quilt.


This was a more of a whistle stop tour of patchwork, so I will write a complete blog for my next quilt soon.


Monday, 13 February 2012

Rock on...

Living in a one bedroom flat with only the one sofa, I have been searching everywhere for a solid wooden rocking chair for an extra spot for visitor to place their bottoms...finally it arrived!  I'm so pleased with our  new (old) chair that I felt it needed some homemade touches to bring it back to life.  So, I got sewing!

Ever since I made my very first cushion cover I vowed never to buy another from a shop again!  True to my word, this project has started by making a rectangular cushion.  Cushion covers are so easy to make, they require simple maths (which is a bonus for me) and sewing straight lines.  The tricky part comes around inserting a zipper or buttonholes.  So as my very first craft sharing project, here's how I made my cushion cover with side zip opening.

Materials you will need:
  • cushion filler (I used 30 x 50cm)
  • Zip (I used a 50 cm zip)
  • Thread
  • Material of your own choosing (I used 100% cotton)

 Step 1 - Measure and your fabric

Take the size of your cushion filler and subtract 2 cm.  This is to ensure you have a plump finished cushion!

My measurements:  27 x 47cm


Step 2 - Cut your fabric

Cut your first rectangle of the above measurement.  Then lay this piece right side down onto you fabric to cut a second piece to the same measurement.


Now you have your cover pieces ready for sewing!


Step 3 - Overlock all the edges of your fabric (optional)

I recently have been lucky enough to receive a new sewing machine as a gift from my fabulous boyfriend (his words not mine), and my machine has a overlock setting to finish the edges of fabric.  You will need to change to the overlocker foot on your machine to do this.  I personally feel this is useful as it serves the function to prevent your fabric from fraying, but also gives it a professional finish.  However, I have made cushions previously without this step and never really found it a problem.


I was very excited to finally use this function!


  Step 4 -  Insert the zipper

With the right sides of your fabric together, pin along one long edge and make a 1.5 cm seam 4cm long at each end of the fabric, reverse stiching at the start and finish.
I find the simplest way to do this is to mark 4 cm in from each edge, sew your first 4cm with reverse stitches, then stop sewing to increase the stitch length to your machine's maximum setting.  Sew a basting stitch down to the next 4cm marker, then stop again to reduce your stitch length back again, sew a reverse stitch then finish the final 4cm.


Press the seam open, and place the fabric wrong side up.  Position the zip right side down with the teeth centred on the line of the stitching.  Pin and sew using zipper foot with 1.5cm seam.  You will need to lift the foot with the needle down to move the zip pull out of the way.


Remove basting stitches.


 Step 5 - Closing your cushion cover

With the right sides of the fabric together sew around the remaining 3 sides with a 1.5cm seam allowance.  Do remember to keep your zip open at this point, to ensure you can turn it out!

Step 6 - Stuff your cushion cover

Turn your cover right side out through the zipped opening and push the corners out for definition.  Now insert your cushion filler and tah dah!


I'm also planning on adding a seat cushion.  Rocking chair project to be continued...